State machines for controlling movement

Hello there!
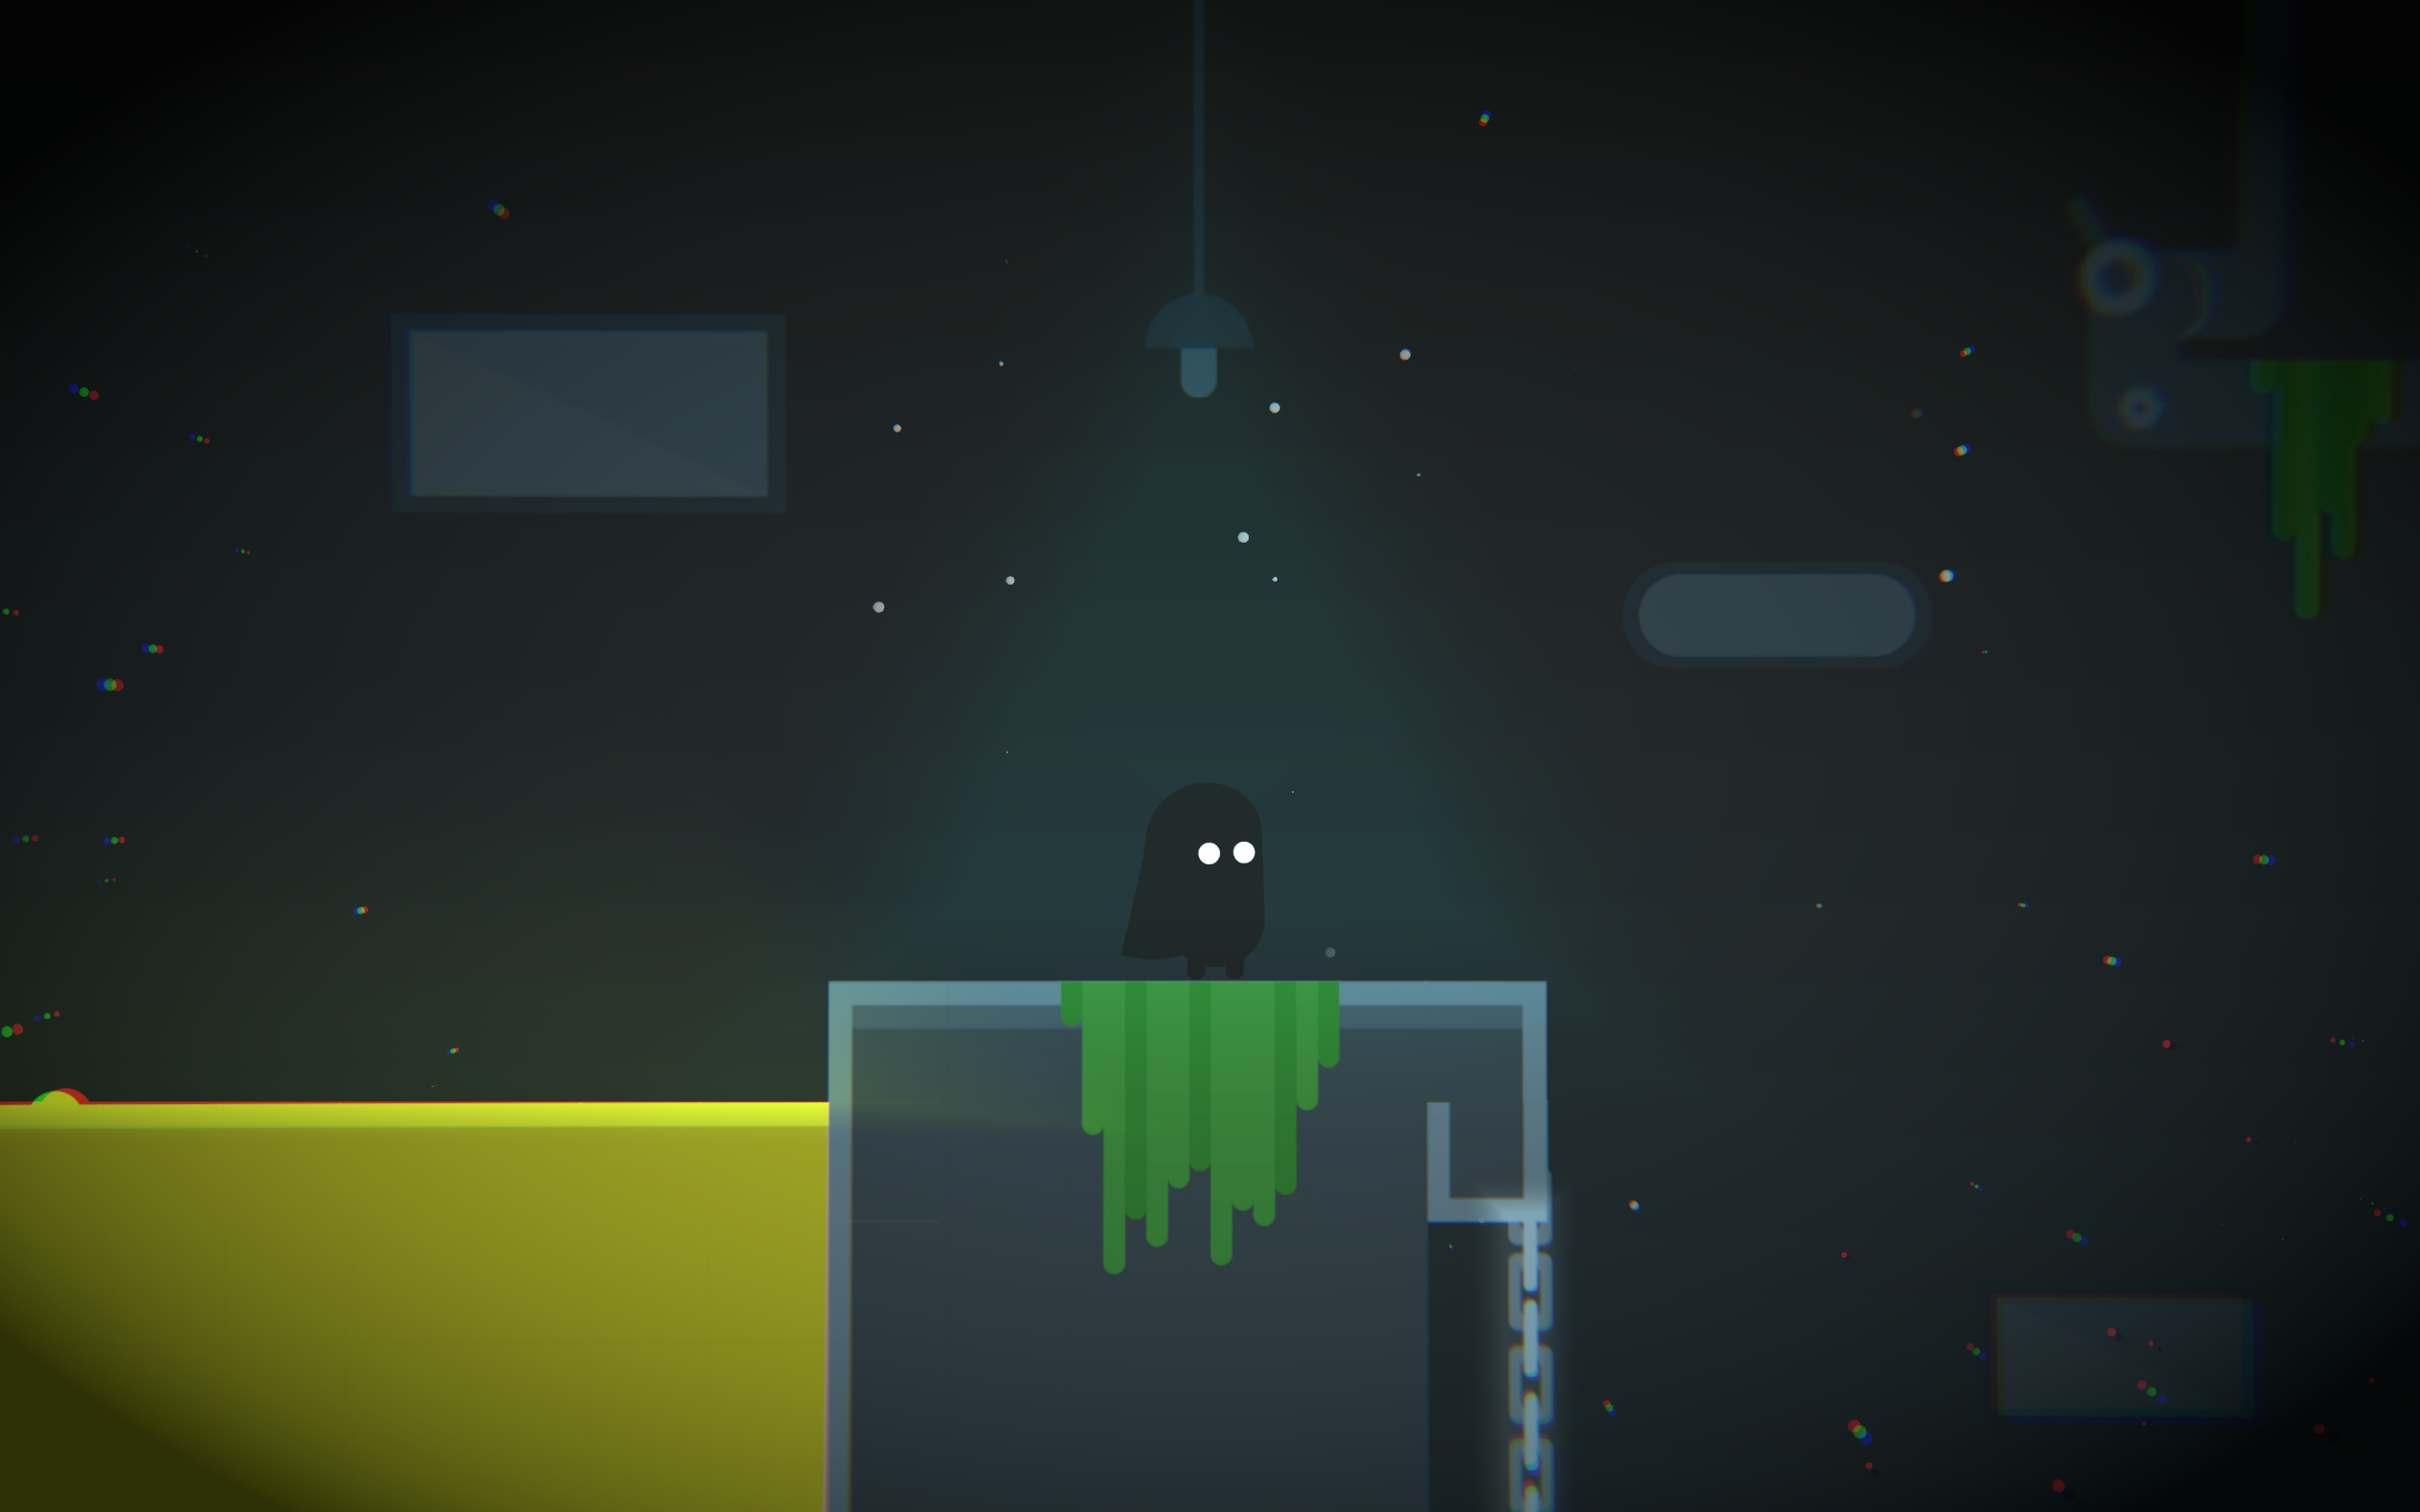
I want to talk about how I implemented movement for the game me my team did for the game jam. It is a platformer game where you play as a cute little character named Liza, who can travel between dimensions. There are 2 dimensions and they mostly differ by an obstacles each dimension has. For example, like in the image below:
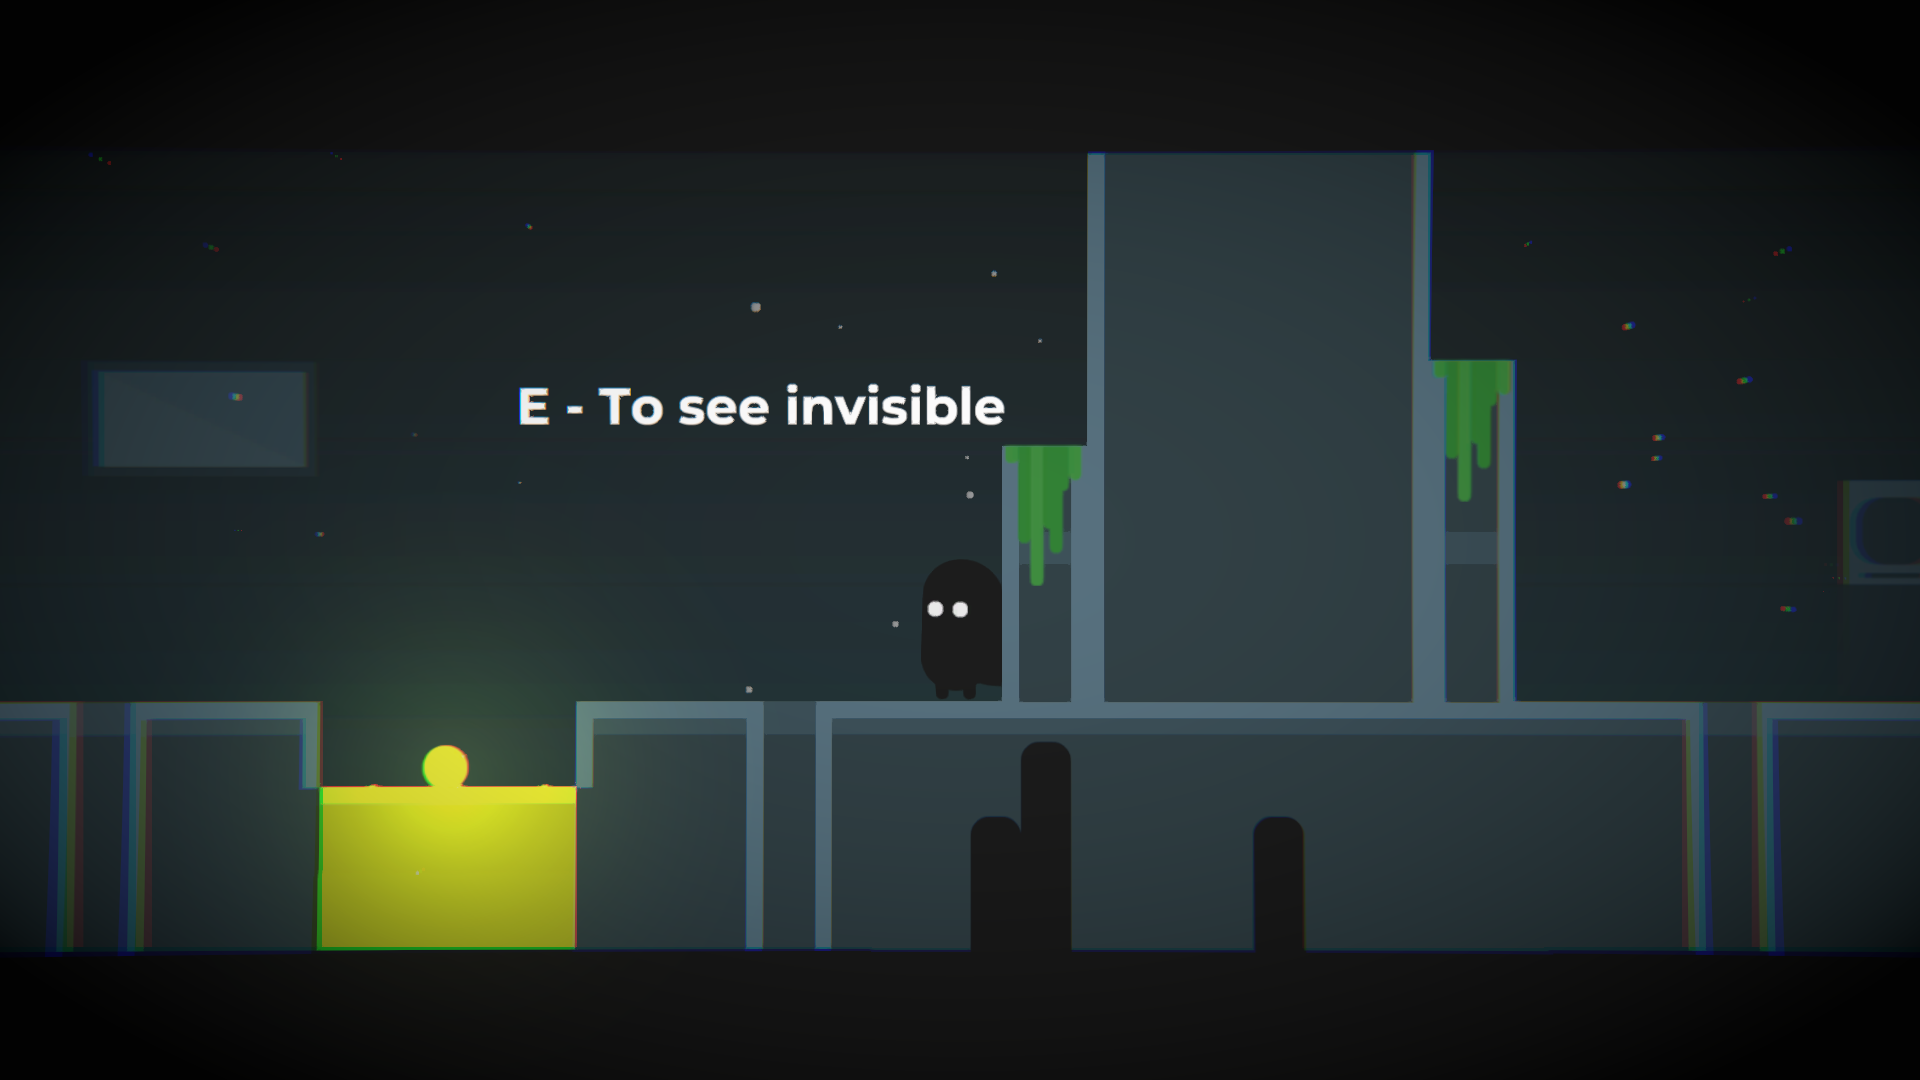
There is a wall in this dimension which blocks your path, but when you press E, you travel to another dimension which doesn't have this wall, therefore you can continue your playthrough.
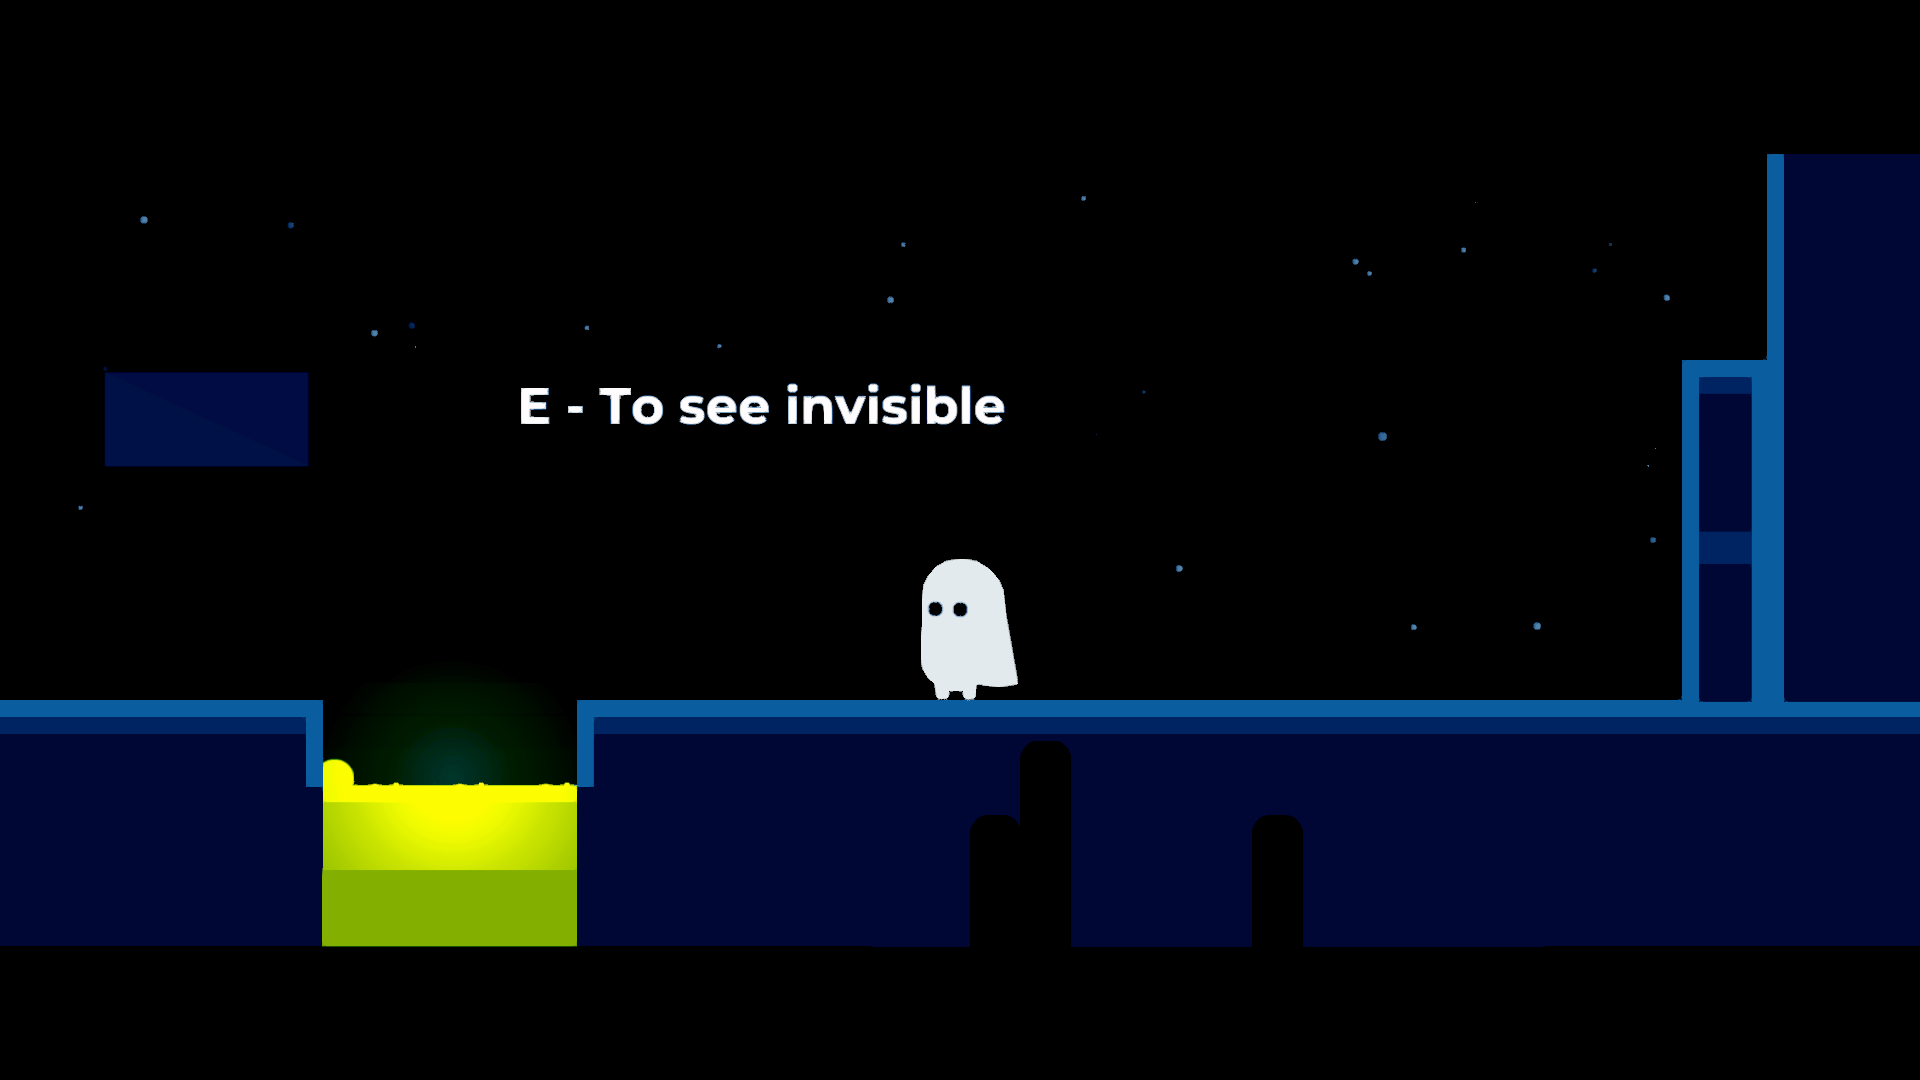
That was a basic concept that we came up with.
Creating good scripts for controlling movements is a must have thing in a long term projects. So I researched a little and found that movement could be made with a state machines, which will ease the development and will improve the code structure for the project. According to the wiki a state machine is a mathematical model of computation. It’s an abstract concept whereby the machine can have different states, but at a given time fulfills only one of them.
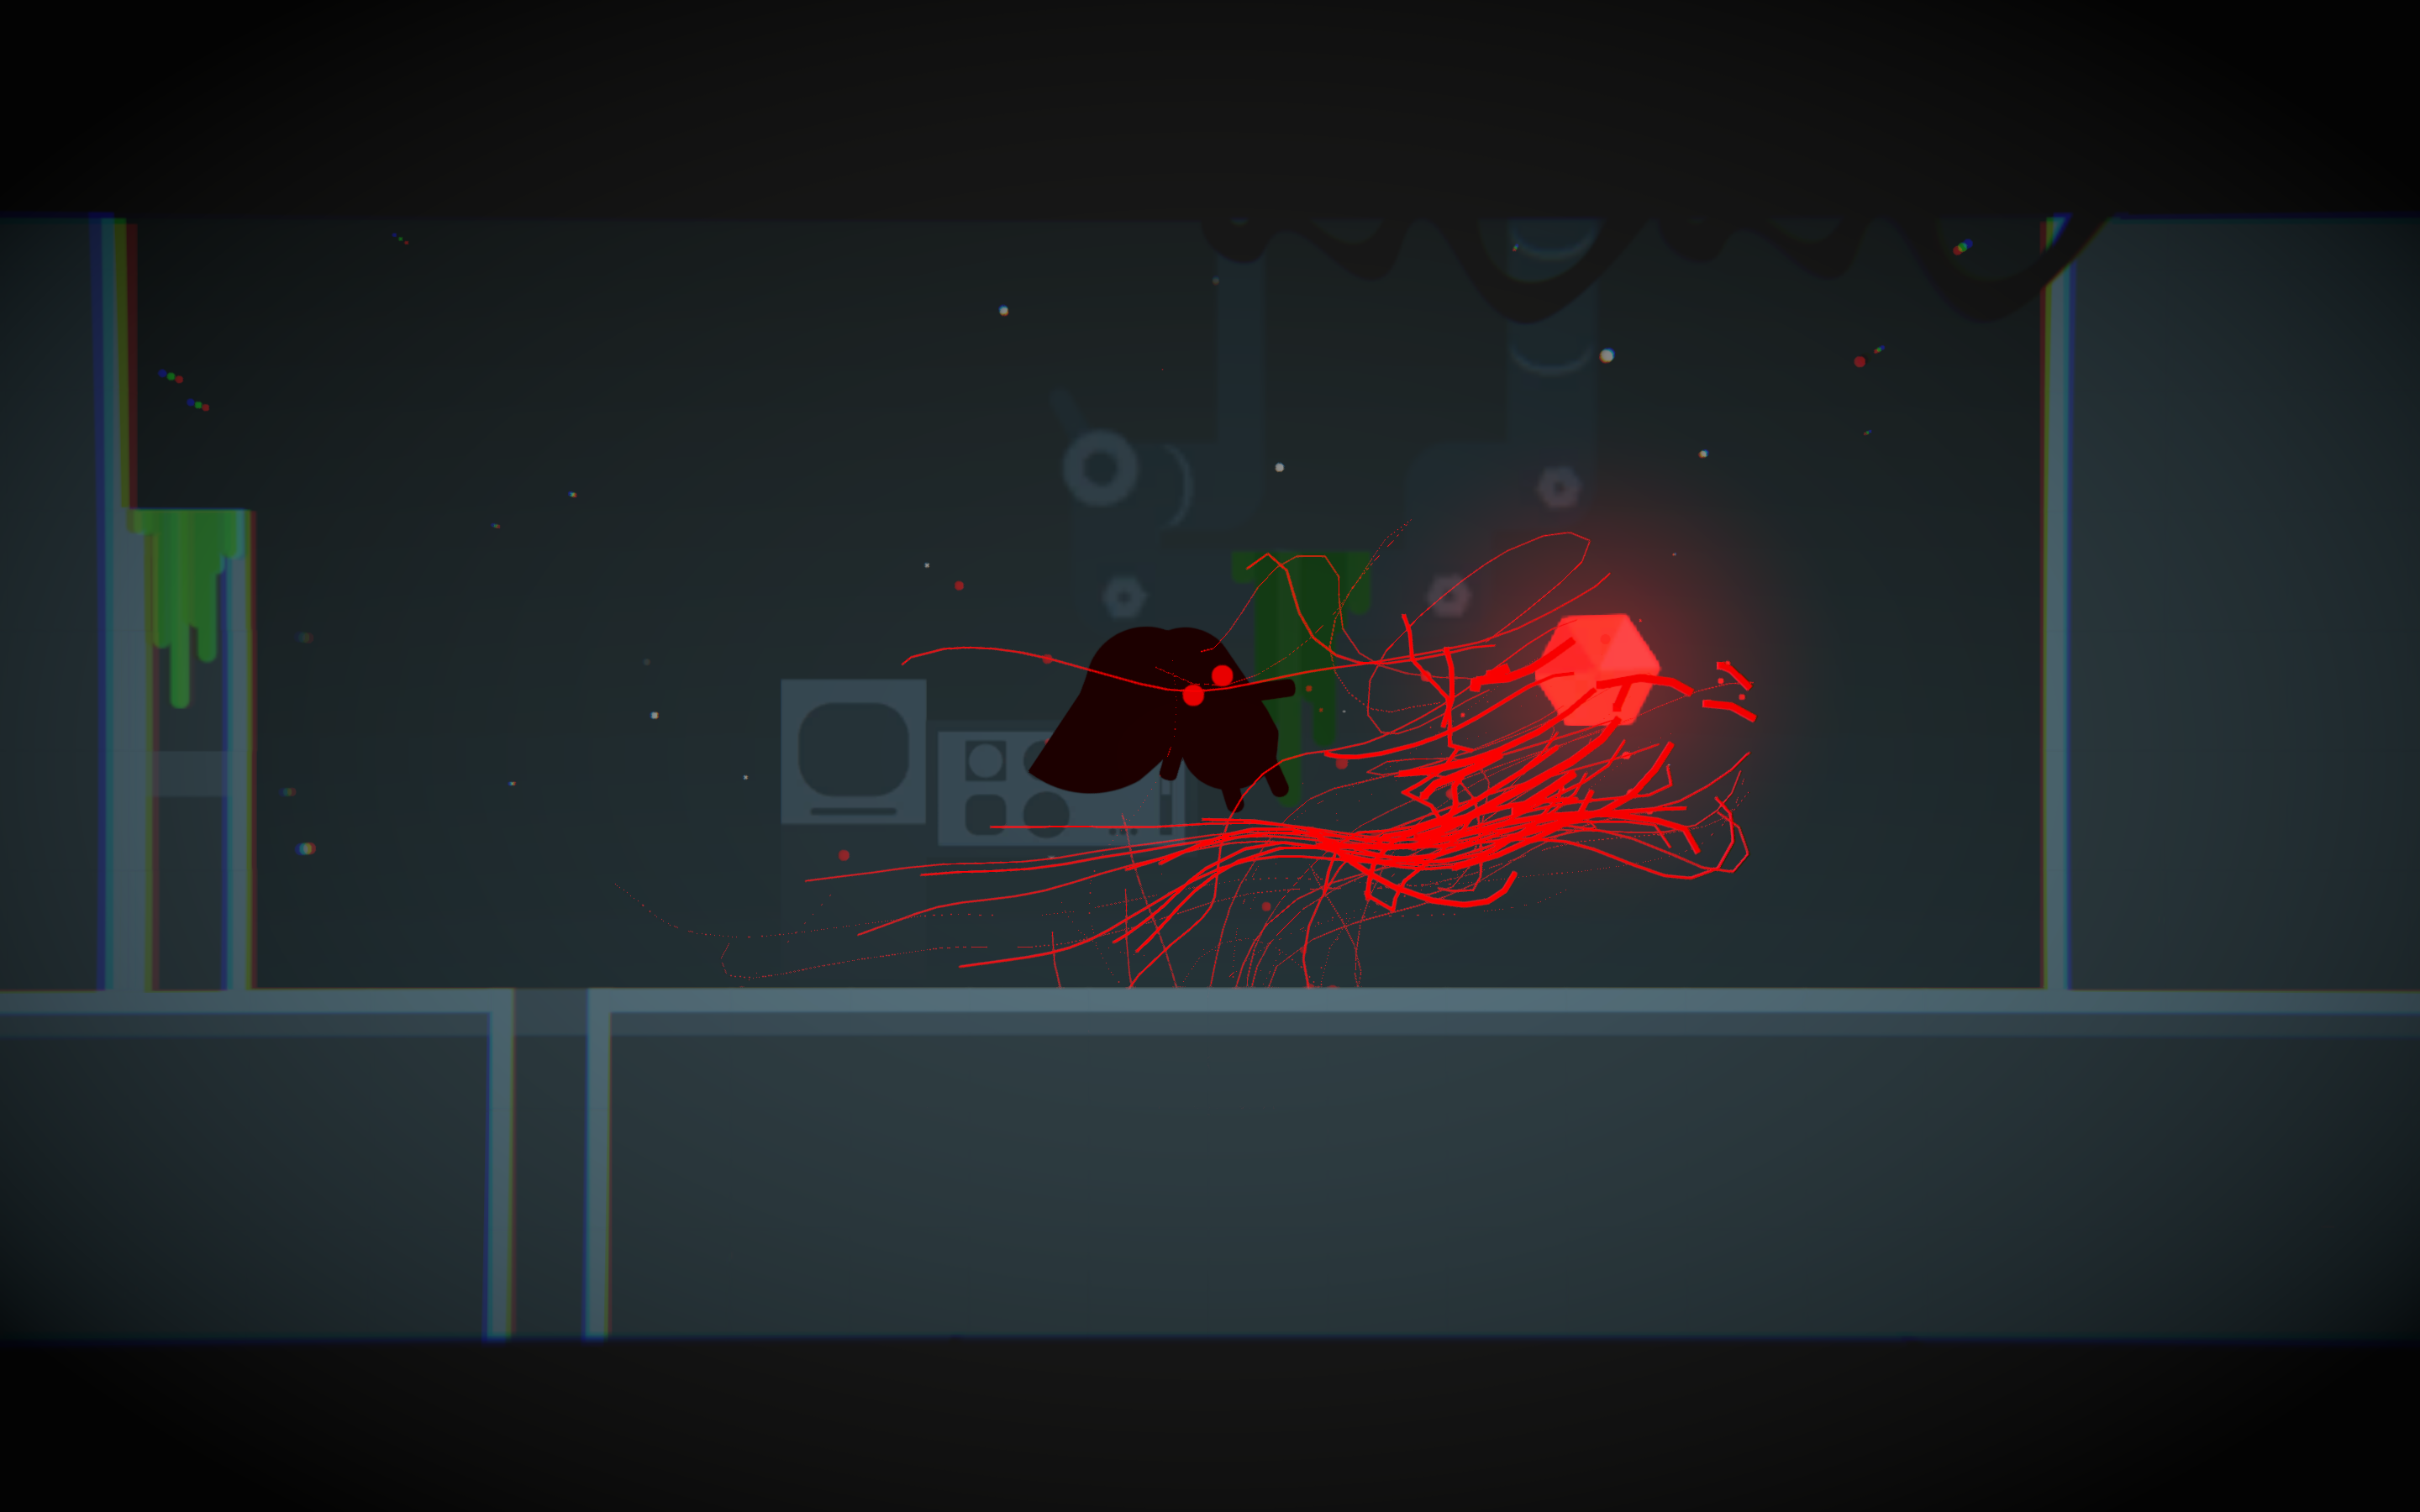
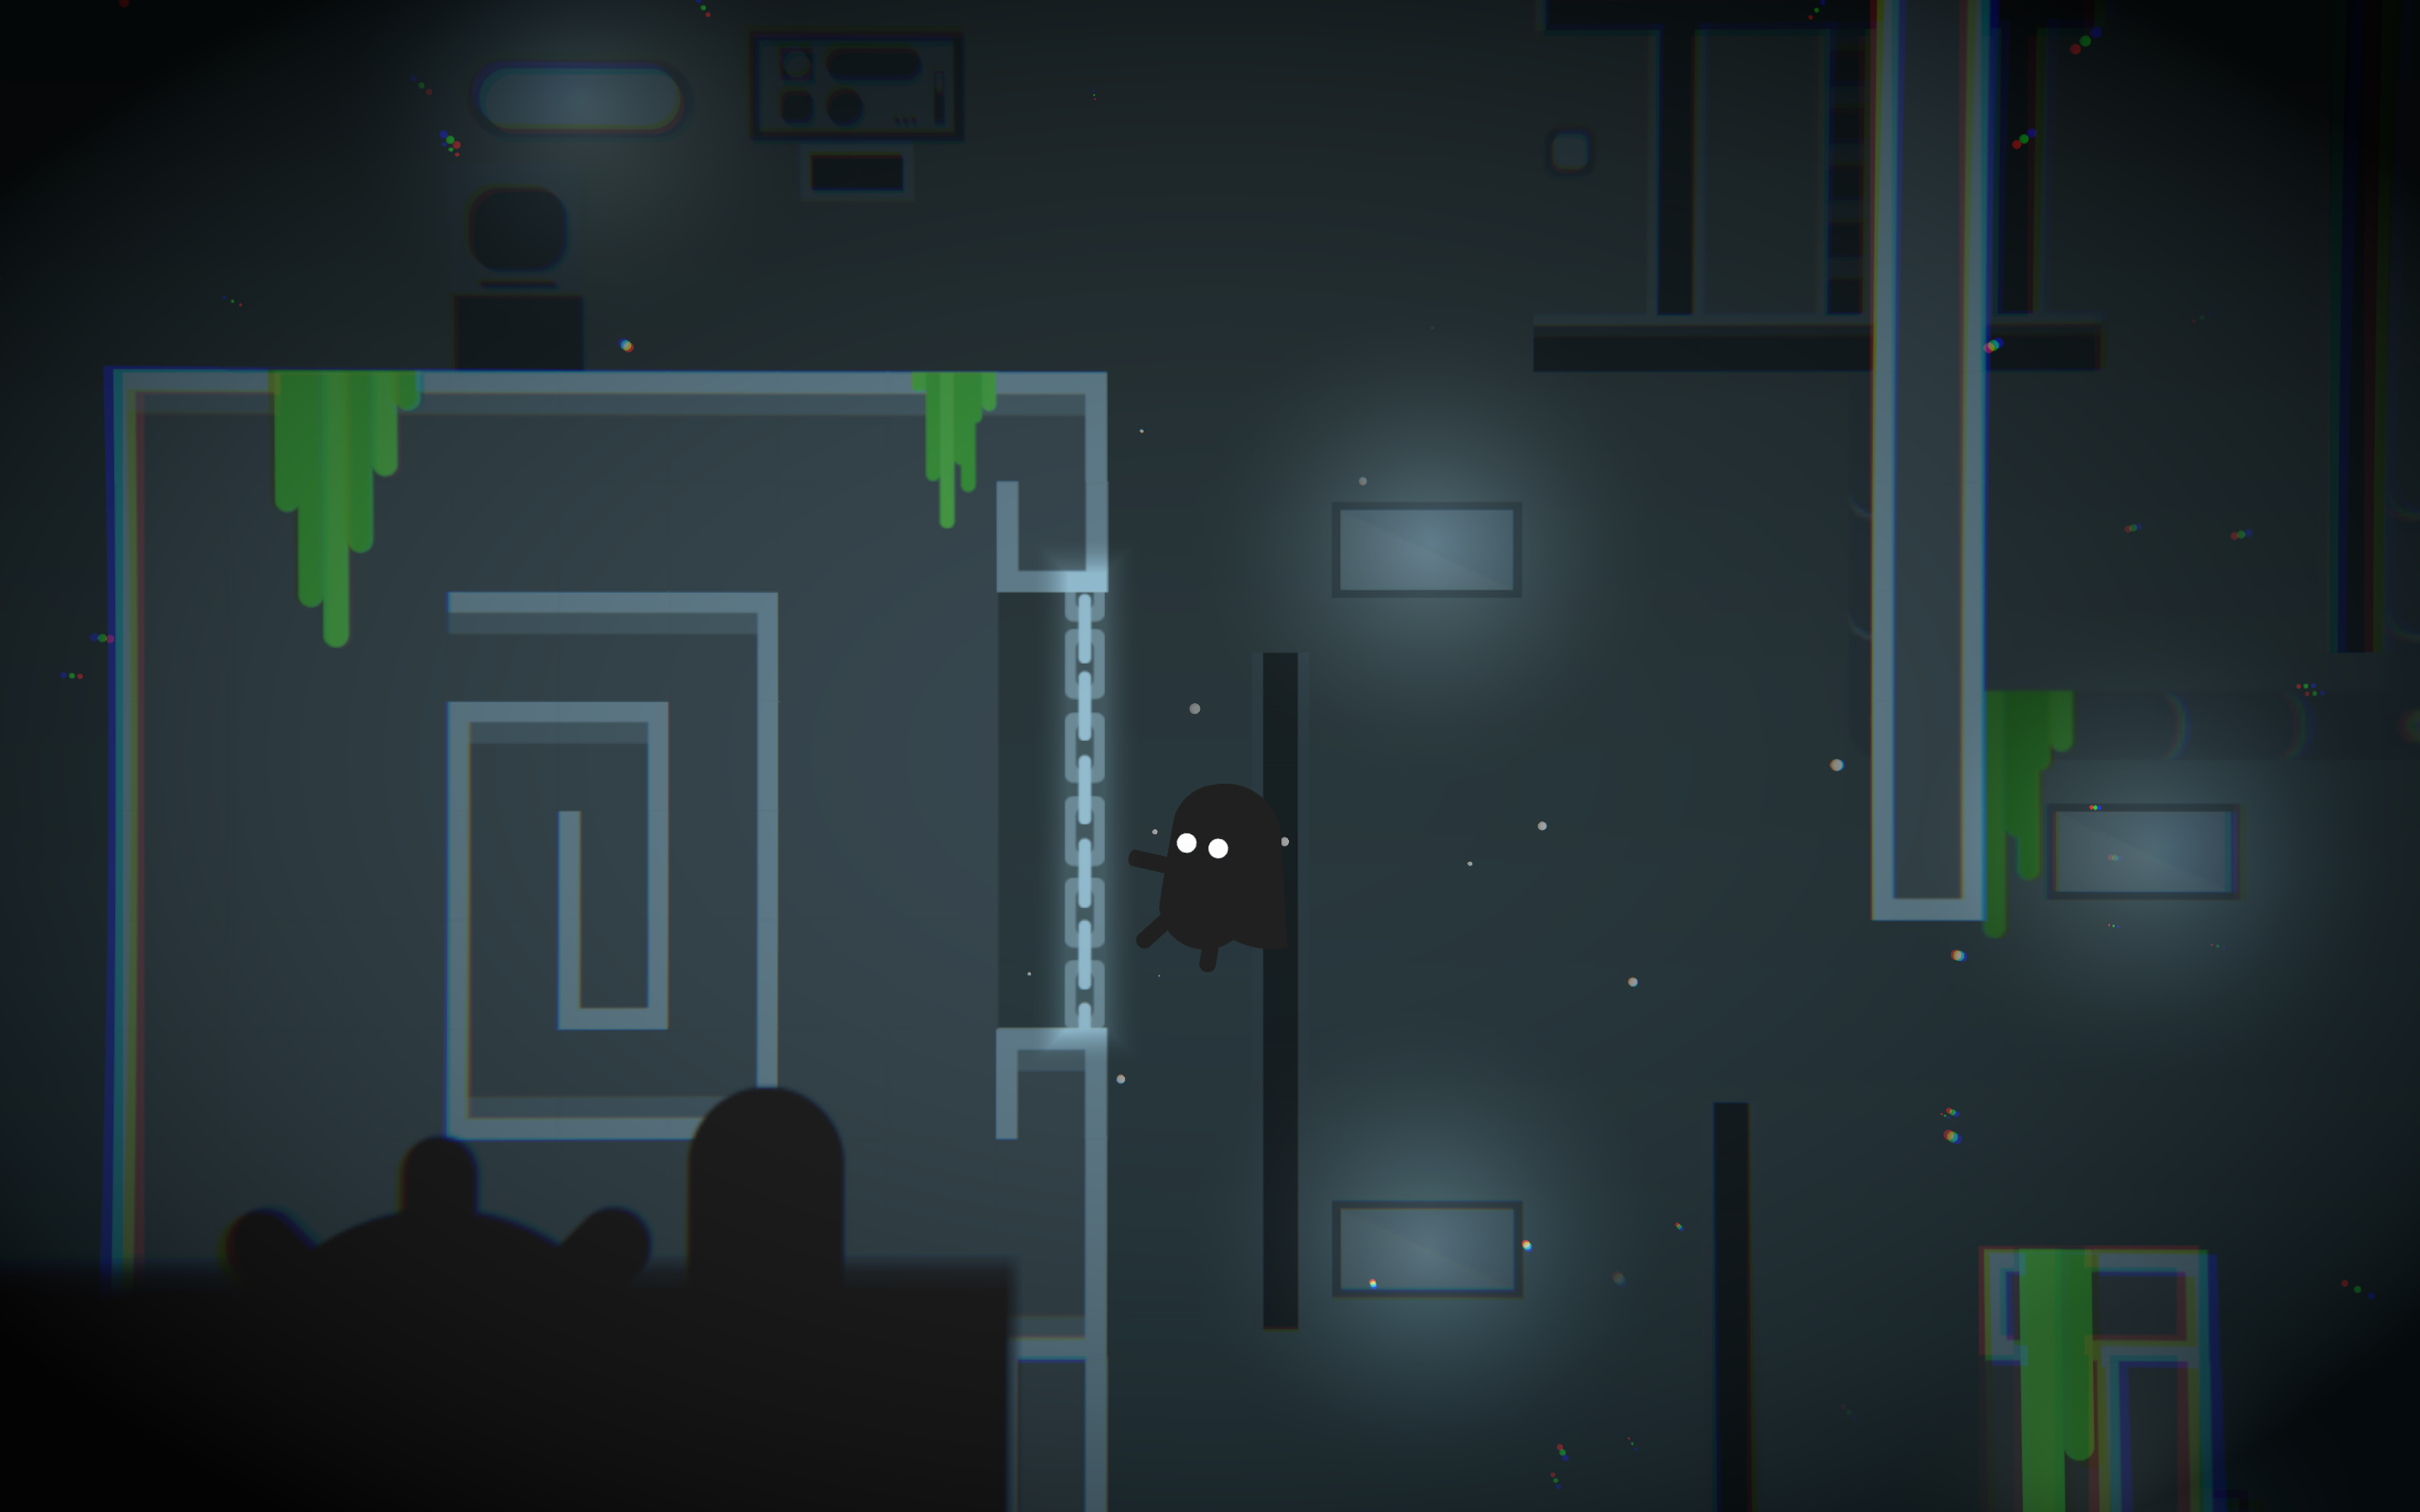
In fact it perfectly aligns with a character controlling logic, character could be in different states like falling, moving, pushing, climbing etc. and each state has a different logic which should be executed.
Here is a gif showing different states of a character (Moving, Climbing, Jumping, Falling):
So let's dive into the code of the state machines. I assume that you are familiar with object oriented programming (interfaces, classes, inheritance, etc.) and have basic knowledge of Unity.
First we should define all states that character could be in. Enums are great way to do it.
public enum MovementEnum
{
    IDLE,
    FALLING,
    CLINGING,
    JUMPING,
    PUSHING
}
I think names of the states are self explanatory, so let's move on. After defining all possible states let's create our state interface which other concrete states will implement later on.
public interface IState<T>
    where T : Enum
{
    T Type
    {
        get;  // Defines which state it is
    }
    void Enter(); // Logic when a state enters. You can adjust some parameters or do some prepare logic
    void Execute(); // Logic when a state is active.
    void Exit(); // Logic when a state exits. Clear up parameters or do some VFX when state exits
}
IState interface has all necessary methods that our state machine will need. It has Enter which could be used to prepare the state. For example calculate something or set some parameters for the object. It has Execute method which will be called in Unity's Update method. It has Exit method to clear up after state finishes. For example it might be something like reset object to initial condition.
With this we are ready to create our state machine.
State machine code:
public class PlayerMovementStateMachine
{
    private IState<MovementEnum> currentState;
    public IState<MovementEnum> CurrentState { get => currentState; } // Encapsulated current state
    public void ChangeState(IState<MovementEnum> newState)
    {
        currentState?.Exit(); // When we enter to the new state exit from the previous state
        currentState = newState; // Assign our current state to the new state
        currentState.Enter(); // Enter to the new current state
    }
    public void Update()
    {
        currentState?.Execute(); // Execute logic of the current state
    }
}
State machine will hold current state and will handle transition from one state to another. Also it will execute logic of the current state.
Now let's create our concrete states. I will show only 1 state which is not really complex, but you can easily add more states according to your needs.
Here is the jump state of the player.
public class PlayerJumpState : IState<MovementEnum>
{
    private IAction _jumpAction; // Abstract jump logic
    private Rigidbody2D _rigidbody; // Rigidbody of the player
    public PlayerJumpState(IAction jumpAction, Rigidbody2D rigidbody)
    {
        _jumpAction = jumpAction;
        _rigidbody = rigidbody;
    }
    public MovementEnum Type => MovementEnum.JUMPING;
    public void Enter()
    {
        // Jump when state enters
        _rigidbody.bodyType = RigidbodyType2D.Dynamic;
        _jumpAction.Do();
    }
    public void Execute()
    {
    }
    public void Exit()
    {
    }
}
I like to separate different logics to different classes. So I added IAction interface, it basically does some simple logic like shoot, jump, collect etc.
It looks like this:
public interface IAction
{
    void Do();
}
And jump action looks like this:
public class JumpAction : IAction
{
    private Rigidbody2D _rigidbody;
    private Vector2 _direction;
    private float _jumpForce;
    public JumpAction(Rigidbody2D rigidbody, ref Vector2 direction, ref float jumpForce)
    {
        _rigidbody = rigidbody;
        _direction = direction;
        _jumpForce = jumpForce;
    }
    public void Do()
    {
        _rigidbody.AddForce(_direction * _jumpForce, ForceMode2D.Impulse);
    }
}
As you can see it simply adds force to a rigidbody with some parameters, nothing complicated.
Now let's try to connect everything to a MonoBehaviour.
public class PlayerMovementController : MonoBehaviour
{
    [SerializeField] private float _jumpSpeed = 10;
    private Vector2 _jumpDirection = Vector2.up;
    private PlayerJumpState _jumpState;
    private PlayerMovementStateMachine _stateMachine;
    private void Awake()
    {
        // Initialize our states and state machine
        _rigidbody = GetComponent<Rigidbody2D>();
        _jumpState = new PlayerJumpState(
            new JumpAction(
                _rigidbody,
                ref _jumpDirection,
                ref _jumpSpeed)
            _rigidbody);
        _stateMachine = new PlayerMovementStateMachine();
    }
    private void Update()
    {
        //Some logic before jump here
        // Handle jump logic
        HandleJump();
        // Execute logic of the current state in the state machine
        _stateMachine.Update();
    }
    private void HandleJump()
    {
        if (Input.GetKeyDown(KeyCode.Space))
        {
            // If player hasn't already jumped and player is not falling we can enter to the jump state
            if (_stateMachine.CurrentState.Type != MovementEnum.JUMPING
                && _stateMachine.CurrentState.Type != MovementEnum.FALLING)
            {
                _stateMachine.ChangeState(_jumpState);
            }
        }
    }
}
With this you have successfully created your own state machine in Unity!
Now in projects where new features would be constantly added it won't be a pain to add new states and new logic with it.
Subscribe now for more interesting tutorials!
Don't forget to play the game!
Side notes:
Of course there are different ways to implement state machines, but I chose to do it this way because it aligned with the project needs and it was easier for me to do it this way.
At the end of the blogpost I will put more complex state that was used in the game, but the general idea is the same.
References:
Design Patterns. Youtube Playlist
My github where I put some cool stuff.
Wall clinging state:
public class PlayerWallClingingState : IState<MovementEnum>
{
    private Transform _player;
    private Rigidbody2D _rigidbody;
    private float _clingMovementSpeed;
    private Animator _animator;
    private Vector2 _clingPos;
    private bool _enabled = false;
    private BoxCollider2D _clingedTarget;
    public PlayerWallClingingState(Transform player, Rigidbody2D rigidbody, float clingMovementSpeed, Animator animator)
    {
        _player = player;
        _rigidbody = rigidbody;
        _clingMovementSpeed = clingMovementSpeed;
        _animator = animator;
    }
    public bool Enabled
    {
        get => _enabled;
    }
    public BoxCollider2D ClingedTarget
    {
        get => _clingedTarget;
        set => _clingedTarget = value;
    }
    public MovementEnum Type => MovementEnum.CLINGING;
    public void Enter()
    {
        _enabled = true;
        _rigidbody.velocity = Vector2.zero;
        _animator.SetInteger("current", 4);
        Vector3 right = _clingedTarget.transform.position - _player.position;
        right.y = 0;
        right.z = 0;
        _player.position -= right.normalized / 2;
        _rigidbody.bodyType = RigidbodyType2D.Kinematic;
    }
    public void Execute()
    {
        if (!_enabled)
        {
            return;
        }
        _animator.SetInteger("current", 4);
        float vertical = Input.GetAxis("Vertical");
        if (vertical < 0.01f && vertical > -0.01f)
        {
            return;
        }
        _rigidbody.velocity = Vector2.zero;
        Vector2 direction = new Vector2(0, vertical);
        float maxYPos = _clingedTarget.transform.position.y + _clingedTarget.bounds.extents.y;
        float minYPos = _clingedTarget.transform.position.y - _clingedTarget.bounds.extents.y;
        Vector2 position = new Vector2(
            _player.position.x,
            _player.position.y) + direction * _clingMovementSpeed * Time.deltaTime;
        position.y = Mathf.Clamp(position.y, minYPos + 0.5f, maxYPos - 0.5f);
        _player.position = position;
    }
    public void Exit()
    {
        _rigidbody.bodyType = RigidbodyType2D.Dynamic;
        _enabled = false;
    }
}
Leave a comment
Log in with itch.io to leave a comment.